Ever tried filming a TikTok in a beige hotel room and ended up with footage so uninspiring it screamed “budget traveler”? Yeah, we’ve been there.
When you’re an influencer or content creator, your backdrop can make or break your post. But hauling around bulky equipment isn’t exactly travel-friendly. That’s where portable green screens come into play—a game-changer for influencers who want studio-quality content without the hassle.
In this guide, you’ll discover how to use portable green screen travel setups, why they’re essential for content creators, actionable tips to set them up, real-world examples, and answers to FAQs that every influencer asks.
Table of Contents
- Why Portable Green Screens Are Essential for Influencers
- Step-by-Step Guide to Setting Up Your Portable Green Screen
- Top Tips & Best Practices for Using Green Screens While Traveling
- Real-Life Examples of Influencers Dominating with Portable Green Screens
- FAQs About Portable Green Screen Travel
Key Takeaways
- A portable green screen lets you shoot anywhere while keeping production value high.
- You don’t need expensive gear—some affordable options work wonders.
- Editing software is as important as the green screen itself; invest wisely.
- Pack smartly to avoid lugging unnecessary weight during travel.
Why Portable Green Screens Are Essential for Influencers
Let’s be honest: not every location screams “Instagram-worthy.” Sometimes, it’s just a plain wall or cluttered background ruining your shot. I once filmed what I thought was an inspiring vlog at a charming café—only to realize later that the neon sign in the background read “PIZZA.” Talk about killing the vibe!
But here’s the secret sauce:
“With a portable green screen, you could literally film from inside a porta-potty and still sell luxury resort vibes. Chef’s kiss.”
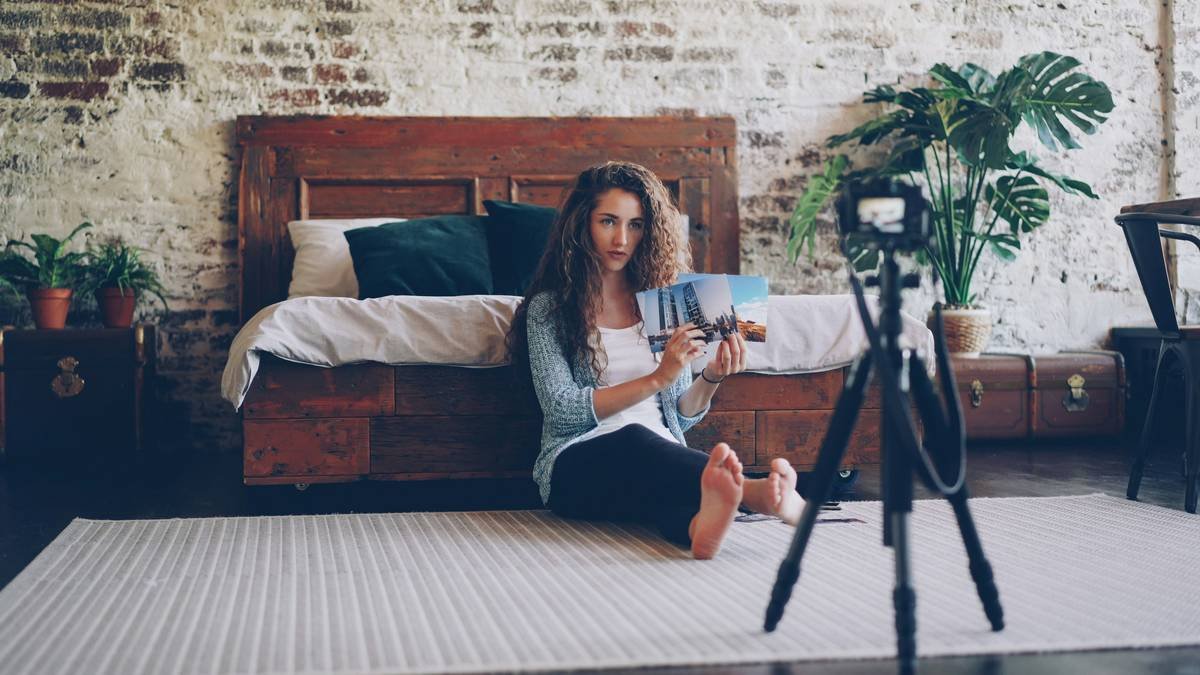
Influencer ready to film using her compact green screen setup.
Here’s why green screens matter:
- Versatility: Swap out boring backdrops for anything your imagination desires—mountains, cityscapes, even alien planets.
- Cost-Effective: No need to hire studios when you can DIY anywhere.
- Lightweight: Modern kits are designed for travelers, folding down to fit snugly in carry-ons.
Step-by-Step Guide to Setting Up Your Portable Green Screen
Optimist You:
“Follow these steps for flawless content creation!”
Grumpy You:
“Fine, but only if coffee’s nearby because this takes more effort than booking flights.”
Ready? Let’s go:
- Choose Your Gear: Opt for collapsible pop-up green screens (ideally under 5 lbs). Brands like Elgato offer ultra-portable options.
- Select Lighting: Good lighting is non-negotiable. Carry LED ring lights—they double as selfie helpers!
- Set Up: Hang your screen against a flat surface or attach it to a tripod stand. Pro tip: Avoid wrinkles; iron if needed.
- Test Colors: Ensure no shadows fall on the green screen, or else editing becomes a nightmare.
An LED light kit perfectly illuminates the green screen for seamless editing.
Top Tips & Best Practices for Using Green Screens While Traveling
Now that you know the setup process, let’s dive into hacks that elevate your game:
- Tailor Backdrops to Your Audience: Match virtual backgrounds to your niche—for example, beach scenes for travel influencers.
- Use Editing Software: Adobe Premiere Pro or Canva makes removing the green simple. Free alternatives include DaVinci Resolve.
- Avoid Awkward Shadows: Position yourself at least 4–6 feet away from the screen to reduce awkward blending.
- Keep It Simple (Terrible Tip Disclaimer): Don’t overcomplicate things by adding too many layers unless you have infinite patience. Trust me—I once spent 8 hours perfecting one clip. Not worth it.
Real-Life Examples of Influencers Dominating with Portable Green Screens
Meet Sarah (@NomadicEnchantress), who went viral last summer after posting dance videos shot entirely in budget hotels—but edited to look like exotic jungles. Her secret? A $40 green screen and some creativity.
Or consider Jake (@TechNomadJake), whose unboxing videos feature sleek office backdrops despite being filmed in cramped Airbnbs. His followers adore his consistency, which wouldn’t exist without his trusty portable kit.
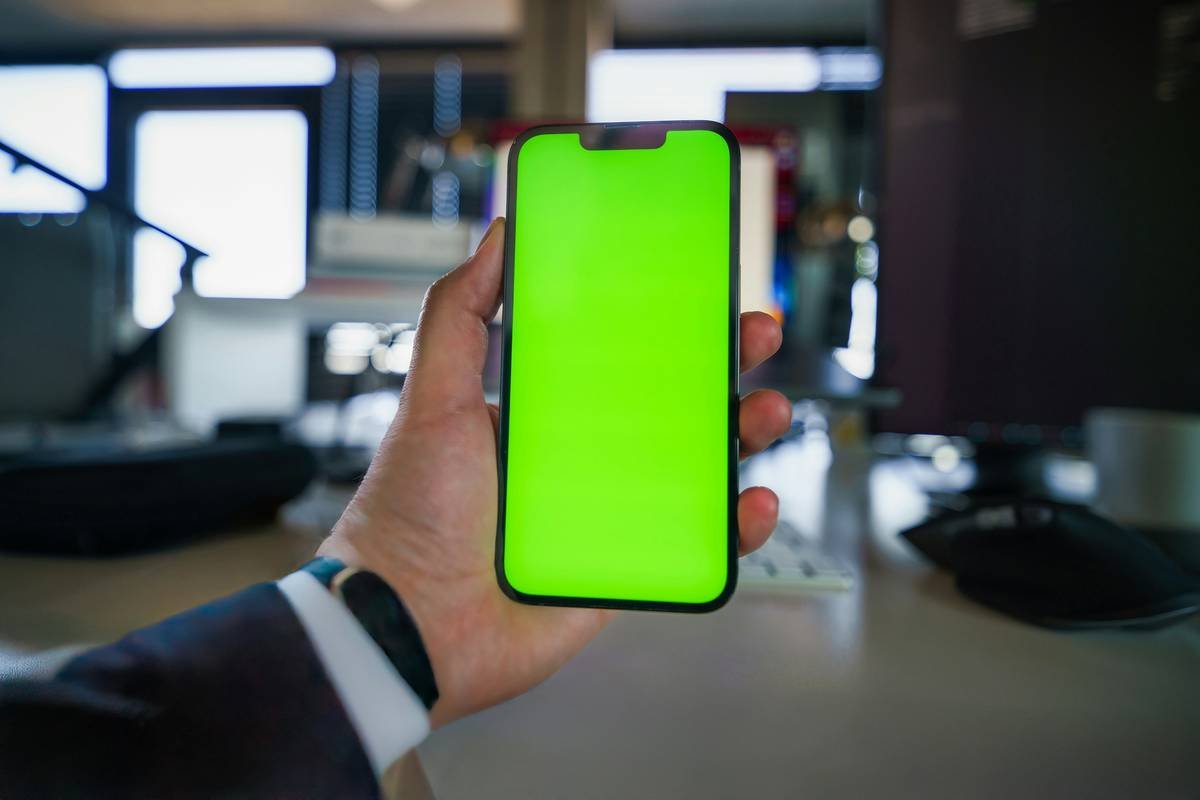
Raw footage vs. polished final result using a portable green screen.
FAQs About Portable Green Screen Travel
Q: Do I really need a green screen?
Absolutely! Unless you’re okay settling for less-than-stellar backdrops or risking bad lighting.
Q: What’s the best material for a portable green screen?
Look for wrinkle-resistant fabrics like muslin or neoprene blends.
Q: How do I edit out the green properly?
Most apps and software have chroma key features. Play around until you find one that suits your style.
Conclusion
If you’ve ever felt stuck creatively or frustrated by lackluster locations, embrace portable green screens. They unlock endless possibilities, ensuring your content stands out regardless of where life takes you. From versatile backdrops to cost-effective solutions, investing in this travel accessory pays dividends.
So pack smart, plan ahead, and let your creativity run wild—just like that episode of Pokémon where Ash catches ‘em all… wait, wrong reference. Sorry.
Like sending emails in MySpace days,
Your travel videos will shine.
Portable green screens save the day.