Ever tried to film a sunset video at the beach, only to realize your tripod sank into the sand? Or worse—your microphone died mid-take because you forgot an extra battery? Yep, we’ve been there too.
If you’re an influencer or content creator who travels often, having reliable on-the-go vlogging equipment isn’t just nice—it’s essential. But where do you even start when it comes to building a portable setup that actually works?
In this post, we’ll guide you step-by-step through choosing the best influencer luggage for your needs, share our favorite pieces of travel-ready gear, and highlight real-world examples from top influencers. By the end, you’ll be ready to capture stunning content without lugging around half your house. Let’s dive in!
Table of Contents
- The Problem with Travel Vlogging (Spoiler: Too Much Stuff)
- Step-by-Step Guide to Building Your On-the-Go Setup
- Tips & Best Practices for Packing Smart
- Success Stories: What Works for Top Creators?
- FAQs About On-the-Go Vlogging Equipment
Key Takeaways
- Your on-the-go vlogging equipment should fit seamlessly into carry-on-sized luggage.
- Investment pieces like stabilizers and compact lighting can make or break your mobile content game.
- Prioritize multifunctional tech over single-use gadgets to save space and stress.
- Real-world case studies prove that simplicity = sustainability for long-term success.
The Problem with Travel Vlogging (Spoiler: Too Much Stuff)
Picture this: You’ve flown across three continents for an epic Instagram reel series about “the ultimate road trip.” Camera bag? Check. Laptop charger? Double-check. Portable power bank? Uh…somewhere in your backpack abyss.
I once spent two hours sprawled on a hotel floor trying to untangle cords while wishing I’d packed smarter. Not exactly what anyone would call #TravelGoals.
“Confession time: I used a suitcase bigger than my car trunk once. Worst decision ever.”
The reality is that modern influencers face a unique challenge: balancing high-quality production value with portability. And let me tell you, those bulky DSLRs and oversized mics are no match for overhead bins.
Step-by-Step Guide to Building Your On-the-Go Setup
Optimist You: “This will be so fun!”
Grumpy You: “Yeah, right. As if packing isn’t stressful enough.”
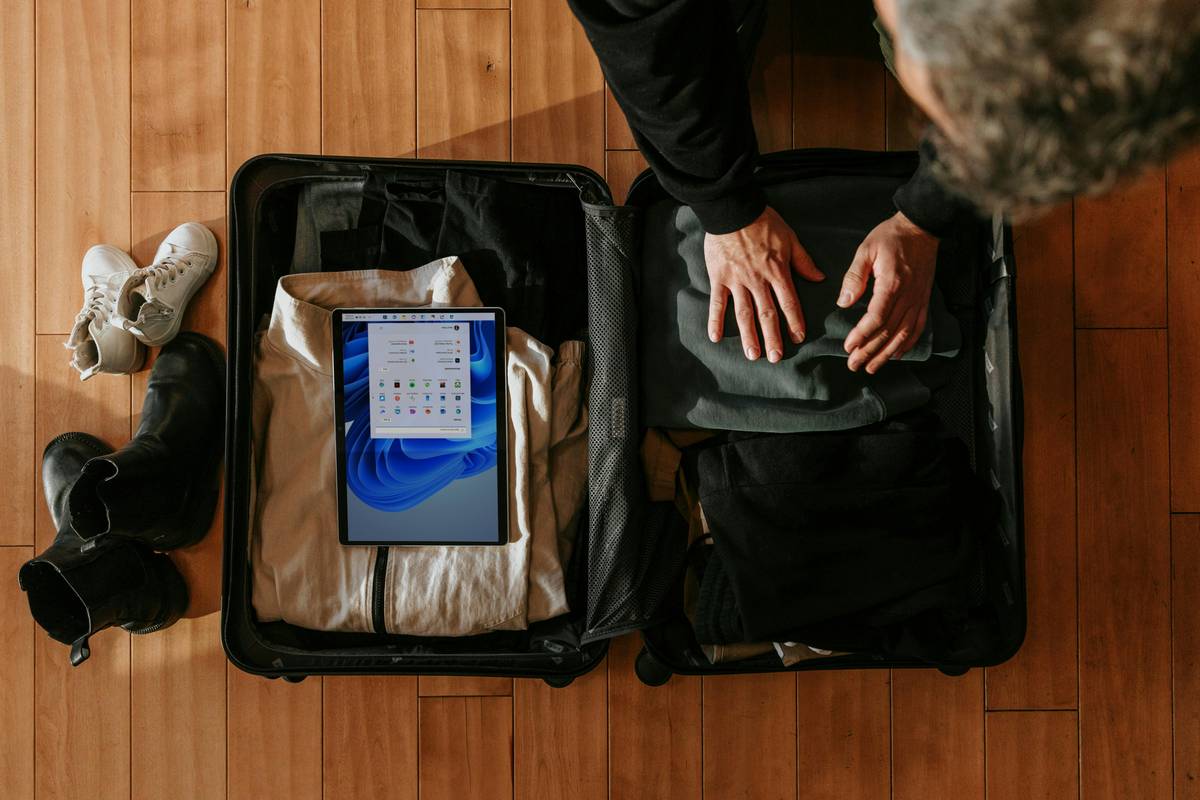
Step 1: Choose Multi-Purpose Luggage
Start by investing in smart luggage designed specifically for travelers who need to stay connected. Look for features like built-in USB ports, TSA-approved locks, and durable yet lightweight materials.
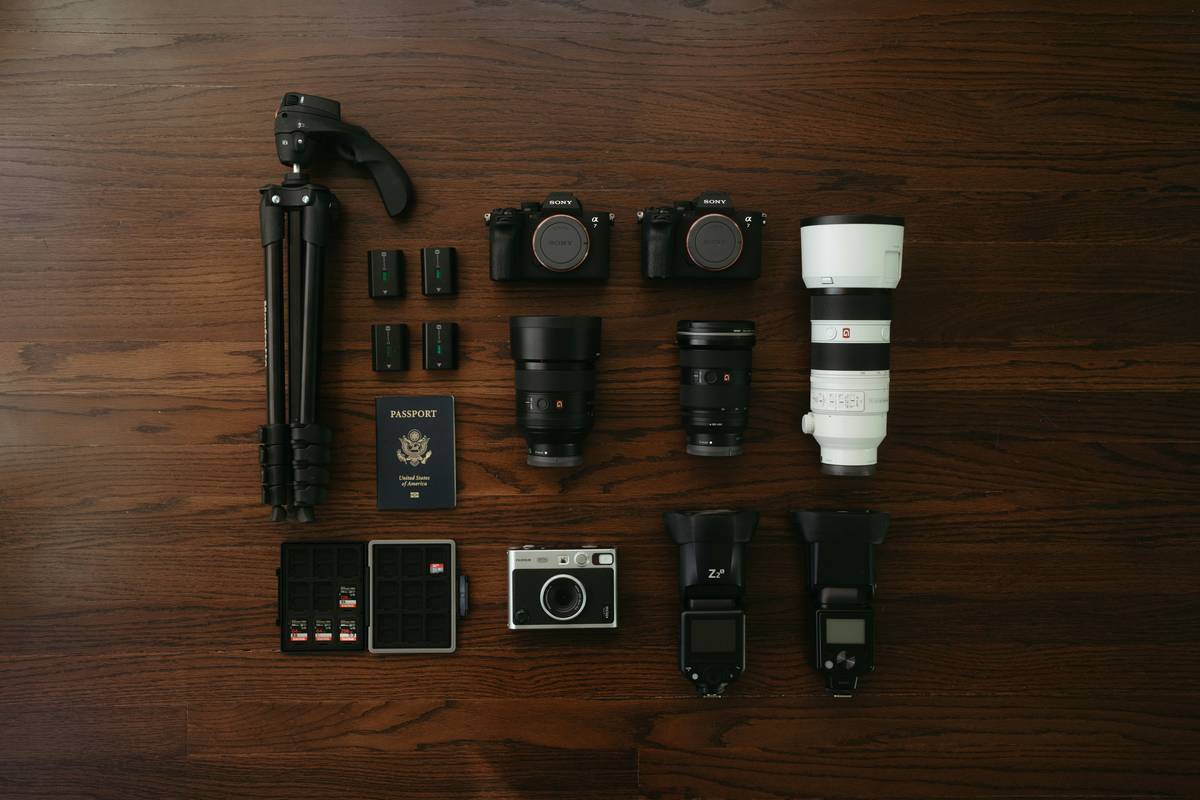
Step 2: Pack Compact Cameras and Stabilizers
Instead of hauling around a giant camera rig, opt for mirrorless cameras paired with gimbals or handheld stabilizers. These tools allow smooth shots without weighing you down.
Step 3: Don’t Forget Audio Gear
Lavalier microphones are small but mighty—perfect for capturing crisp audio during interviews or solo talks. Bonus points if they come with rechargeable batteries!
Step 4: Bring Portable Lighting Solutions
A ring light or LED panel might seem excessive, but trust us—it makes all the difference when filming indoors or under low natural light conditions.
Tips & Best Practices for Packing Smart
- Label Everything: Use zip ties or cable organizers labeled clearly to avoid frantic searches later.
- Multitask Tools: A GoPro doubles as both an action cam AND selfie shooter. Kill two birds with one stone.
- Charge Strategically: Bring universal adapters and pre-charged backup batteries to keep everything running smoothly.
- TERRIBLE TIP ALERT: Avoid packing last-minute items—that random kitchen gadget won’t magically improve your video quality.
Success Stories: What Works for Top Creators?
Taylor Swift-level organization aside, here are some actual pros doing it well:
- Nomadic Matt: Uses a minimalist DJI Mavic Air drone and iPhone combo to shoot breathtaking aerials.
- Gabby Beckford: Swears by her Peak Design camera clip system for quick access during hikes.
- Liz Carlson: Packs only one lens and focuses on storytelling instead of fancy visuals.

FAQs About On-the-Go Vlogging Equipment
Q: How much does good on-the-go vlogging equipment cost?
A: Expect anywhere between $500-$2,000 depending on how pro-level you want to go. Start with budget-friendly options first!
Q: Can I use my phone instead of buying expensive gear?
A: Absolutely! Smartphones today have impressive capabilities; pair them with affordable add-ons like lenses and lights for professional results.
Q: What’s the most common mistake people make when packing vlogging gear?
A: Overpacking unnecessary extras. Stick to essentials—you don’t need five different angles for every shot.
Conclusion
Congratulations—you now know how to master on-the-go vlogging equipment without breaking a sweat (or your back). Remember, less is more, and prioritizing functionality ensures smoother travels.
So next time you’re planning that dream destination shoot, channel your inner Marie Kondo: Does this piece spark joy—or headaches? Keep refining your process, and soon you’ll be breezing through airports like a seasoned pro.
Like dial-up internet, bad packing habits belong firmly in the past. 🌟 Now get out there and create something incredible.
Final thought: Like a Tamagotchi, your travel setup thrives on daily care, love, and maybe fewer tangled cables.*